

iso aperture shutter speed chart pdf
The Exposure Triangle—ISO, aperture, and shutter speed—is fundamental to photography. These settings control light capture, enabling photographers to achieve desired effects. A PDF chart simplifies understanding their relationships.
Understanding the Exposure Triangle
The Exposure Triangle—ISO, aperture, and shutter speed—forms the foundation of photography. Each setting controls light entry, with ISO regulating sensitivity, aperture managing depth of field, and shutter speed capturing motion. A PDF chart visualizes their relationships, helping photographers balance these elements for optimal exposure. Proper adjustments prevent overexposure or underexposure, ensuring vivid, sharp images. This harmonious interplay is essential for mastering photography and achieving creative vision in various lighting conditions.
Why ISO, Aperture, and Shutter Speed Are Important
ISO, aperture, and shutter speed are crucial for controlling light and achieving the desired visual effect in photography. ISO regulates light sensitivity, aperture controls depth of field, and shutter speed captures motion or sharpness. Balancing these elements ensures proper exposure, preventing overexposure or underexposure. A PDF chart simplifies understanding their interplay, helping photographers make informed adjustments for optimal image quality in various lighting conditions and creative scenarios.
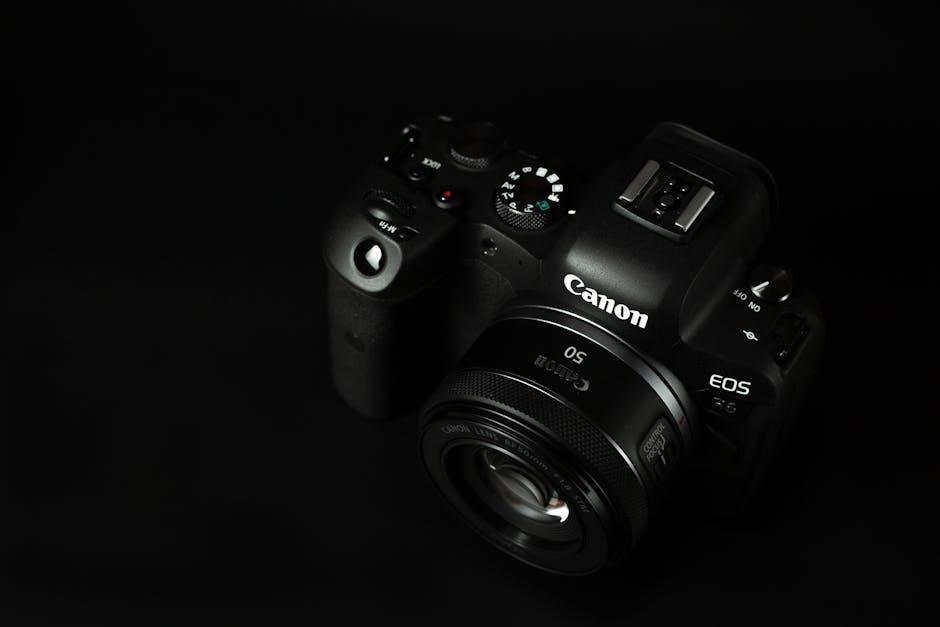
ISO Settings Explained
ISO measures a camera’s light sensitivity. Lower ISOs suit bright light, while higher ISOs work in low light. A PDF chart helps optimize ISO settings for clarity and minimizing noise in various conditions.
What is ISO and How Does It Affect Photos?
ISO (International Organization for Standardization) measures a camera’s sensitivity to light. Lower ISOs (e.g., ISO 100) are best for bright conditions, producing sharp, noise-free images. Higher ISOs (e.g., ISO 6400) are used in low light but may introduce grain or noise. Balancing ISO with aperture and shutter speed is crucial for optimal results. A PDF chart can help photographers understand how ISO interacts with other settings to achieve desired effects in various lighting scenarios, ensuring clear and professional-quality photos.
Best Practices for Using ISO
Use the lowest ISO possible for the lighting conditions to minimize noise. In bright light, start with ISO 100-400. In low light, higher ISOs (800-6400) may be necessary. Be cautious with extremely high ISOs, as they can degrade image quality. Adjust ISO in conjunction with aperture and shutter speed for balanced exposure. Referencing an ISO aperture shutter speed chart PDF can guide optimal settings, helping photographers maintain image clarity and achieve professional results across various scenarios.

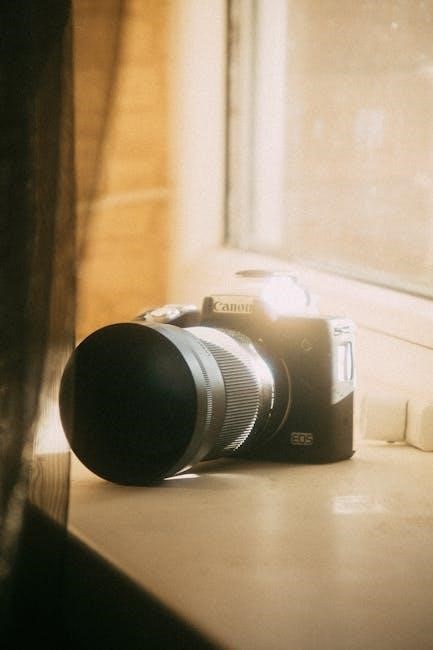
Aperture Settings Explained
Aperture regulates light entry and depth of field. Lower f-stops open wider, allowing more light and shallower focus. An ISO aperture shutter speed chart PDF aids in balancing these settings effectively.
Understanding F-Stops and Their Impact on Depth of Field
F-stops measure aperture, controlling light and depth of field. Lower f-numbers (like f/2.8) create a shallower focus, blurring backgrounds, while higher numbers (like f/16) keep more in sharp focus. This balance is crucial for composing images. Referencing an ISO aperture shutter speed chart PDF helps photographers predict and adjust depth of field precisely, ensuring subjects stand out or blend seamlessly with surroundings based on creative intent.
How Aperture Affects Lighting in Photography
Aperture fundamentally influences lighting in photography by regulating the amount of light entering the lens. Measured in f-stops, a lower f-number (e.g., f/2.8) opens the aperture wider, allowing more light, while a higher f-number (e.g., f/16) reduces light entry. This control enables photographers to adjust image brightness and depth of field. An ISO aperture shutter speed chart PDF provides a visual guide to balance these settings, ensuring optimal lighting conditions for various scenarios, from bright landscapes to low-light portraits.
Shutter Speed Settings Explained
Shutter speed controls the duration the camera’s shutter is open, regulating light entry and motion capture. It freezes action with fast speeds or creates blur with slower ones. An ISO aperture shutter speed chart PDF helps photographers understand and balance these settings for optimal exposure in various lighting conditions.
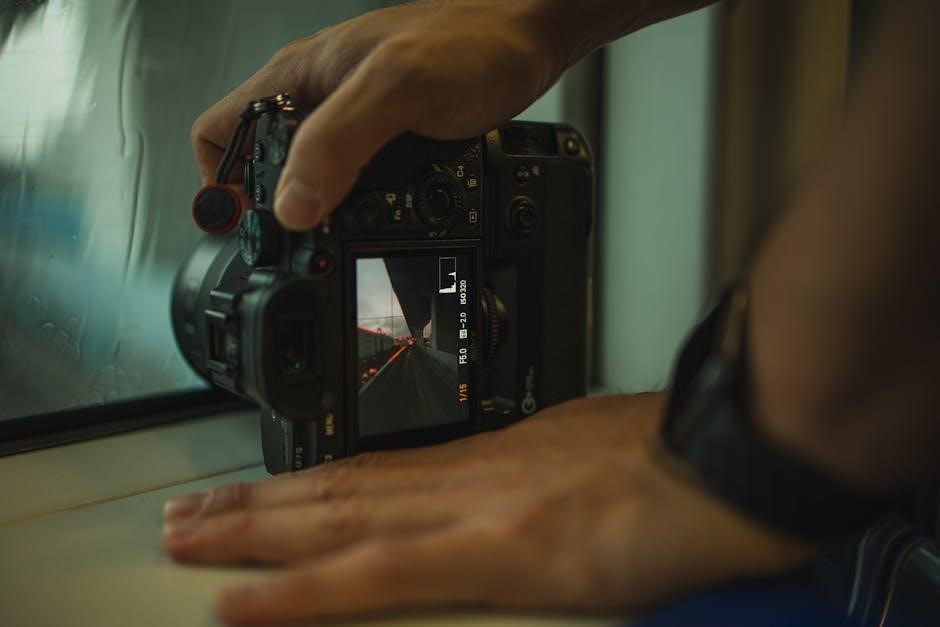
Controlling Motion with Shutter Speed
Shutter speed is crucial for controlling motion in photography. Faster speeds, like 1/5000th of a second, freeze action, ideal for sports or wildlife. Slower speeds, such as 1 second, create artistic blur, great for waterfalls or light trails. A PDF chart helps photographers understand how to balance ISO, aperture, and shutter speed to achieve desired motion effects, ensuring sharp images or intentional blur based on creative goals.
How Shutter Speed Impacts the Exposure
Shutter speed directly influences exposure by controlling the duration light reaches the sensor. Longer exposures brighten images, while shorter ones darken them. A shutter speed of 1/5000s captures sharp details in bright light, whereas 1s creates soft, blurred effects. Balancing shutter speed with ISO and aperture ensures proper exposure. A PDF chart provides a visual guide, helping photographers understand how to adjust these settings cohesively for optimal results in various lighting conditions and creative scenarios.
Balancing ISO, Aperture, and Shutter Speed
Balancing ISO, aperture, and shutter speed is crucial for proper exposure. A PDF chart helps visualize their relationships, ensuring harmonious adjustments for optimal lighting in various photography scenarios.
The Exposure Triangle and How It Works Together
The Exposure Triangle consists of ISO, aperture, and shutter speed, which collectively control light exposure. Adjusting one setting impacts the others, requiring a balanced approach for optimal results. A PDF chart provides a visual guide to understand their interdependencies, helping photographers make informed decisions. It simplifies the process of achieving desired effects, whether freezing motion, creating depth, or managing low-light conditions effectively.
Practical Tips for Achieving Perfect Exposure
Start by using a PDF chart to visualize ISO, aperture, and shutter speed relationships. Shoot in Manual mode for full control. Use the Sunny 16 rule as a baseline and adjust settings based on lighting conditions. Bracket your shots to capture a range of exposures. Regularly review your images and histograms to refine your technique. Practice consistency to develop muscle memory and ensure optimal results in various photography scenarios.
ISO Aperture Shutter Speed Chart
A chart visualizes ISO, aperture, and shutter speed relationships, helping photographers balance exposure. It provides a quick reference guide for achieving optimal settings in various lighting conditions.
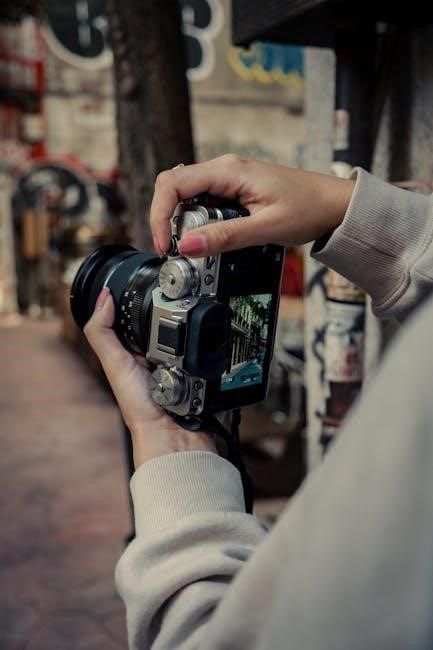
How to Use a Chart for Better Photography
A chart simplifies understanding ISO, aperture, and shutter speed relationships. Use it to visualize how adjustments impact exposure, ensuring balanced settings. Start by identifying lighting conditions, then reference the chart to select optimal ISO, aperture, and shutter speed combinations. Experiment with these settings to achieve desired effects like motion blur or depth of field. Regular practice with the chart enhances your ability to capture well-exposed images consistently in various photography scenarios.
Downloading and Printing the Chart as a PDF
Downloading the ISO, aperture, and shutter speed chart as a PDF is straightforward. Visit a reliable photography resource website and locate the chart. Click the download button to save it as a PDF file. Ensure your printer settings match the chart’s dimensions for accurate printing. Laminate it for durability and keep it handy for quick reference during shoots. This convenience allows photographers to make informed decisions efficiently, enhancing their workflow and creativity.
Common Mistakes to Avoid
Common mistakes include ignoring ISO sensitivity, incorrect aperture settings, and improper shutter speed choices. These errors can compromise image quality and fail to achieve desired effects.
Ignoring ISO Sensitivity
Ignoring ISO sensitivity can lead to poor image quality, as high ISOs introduce noise and grain, while low ISOs may underexpose shots. Always adjust ISO according to lighting conditions to maintain clarity and detail. Using the ISO aperture shutter speed chart helps photographers understand the ideal ISO range for different scenarios, ensuring optimal results without compromising image quality. Proper ISO management is crucial for achieving professional-looking photos in various lighting environments.

Incorrect Aperture Settings
Incorrect aperture settings can disrupt the balance of the Exposure Triangle. A wrong f-stop value may result in underexposed or overexposed images. Using a higher aperture (smaller opening) can cause loss of detail, while too low an aperture may blur backgrounds unintentionally. The ISO aperture shutter speed chart guides photographers in selecting the right aperture for desired depth of field and lighting conditions, helping avoid common mistakes that affect image quality and composition, ensuring sharp and well-lit photos in various scenarios.
Improper Shutter Speed Choices
Improper shutter speed choices can lead to motion blur or overly frozen images. Slow shutter speeds may create unwanted blur in moving subjects, while excessively fast speeds can result in underexposed photos. The ISO aperture shutter speed chart helps photographers select the right speed for their scene, balancing motion control with proper exposure. Correcting this ensures sharp, well-lit images, whether capturing dynamic action or serene landscapes, avoiding common errors that detract from the desired visual outcome.
Real-World Applications
Photographers use ISO, aperture, and shutter speed charts to optimize settings in various scenarios, ensuring proper exposure and desired effects in portraits, landscapes, and action shots.
Using the Chart in Different Photography Scenarios
The ISO, aperture, and shutter speed chart is versatile, aiding photographers in various scenarios. For portraits, it helps achieve sharp subjects with blurred backgrounds. In landscapes, it ensures depth of field and proper lighting. Action shots benefit from faster shutter speeds and balanced ISO. The chart simplifies adjustments, ensuring optimal exposure in low-light, bright, or dynamic conditions, making it an essential tool for capturing stunning images consistently.
Examples from Professional Photography
Professional photographers rely on the ISO, aperture, and shutter speed chart to execute precise shots. In sports, high shutter speeds freeze action, paired with low ISO for clarity. Landscape photographers use small apertures for depth, adjusting ISO for lighting. Portraitists leverage wide apertures to isolate subjects, fine-tuning ISO for optimal quality. The chart serves as a quick reference, ensuring professionals achieve their artistic vision efficiently across diverse genres and lighting conditions, enhancing their creative workflow and output quality consistently.
Frequently Asked Questions
What is the best starting point for ISO, aperture, and shutter speed? Start with ISO 400, f/5.6, and 1/500s for balanced results. Adjust based on lighting conditions for optimal exposure. This trio provides a solid foundation for most scenarios, ensuring clarity and proper lighting in photographs. Experiment to refine settings for specific creative goals, using the chart as a quick reference guide to achieve desired effects efficiently.
What Is the Best Starting Point for ISO, Aperture, and Shutter Speed?
Begin with ISO 400, aperture f/5.6, and shutter speed 1/500s. This balanced setup works well in various lighting conditions. Adjust ISO for brightness, aperture for depth, and shutter speed for motion. Reference the chart to refine settings, ensuring optimal exposure. Experiment to tailor settings to your creative vision, using the chart as a guide for precise adjustments and consistent results in different photography scenarios.
How Do Changes in One Setting Affect the Others?
Adjusting ISO, aperture, or shutter speed impacts the others due to their interdependence in the Exposure Triangle. Increasing ISO brightens the image but may add noise, requiring adjustments to aperture or shutter speed. Widening the aperture (lower f-stop) lets in more light, which may necessitate faster shutter speeds or lower ISO. Slower shutter speeds increase exposure, often requiring smaller apertures or lower ISO. Balancing these variables is key to achieving desired results, as shown in the ISO, aperture, and shutter speed chart for precise control.
Does ISO Affect Image Quality?
Yes, ISO can impact image quality. Higher ISO settings increase sensitivity but may introduce noise or grain, reducing sharpness and clarity. Lower ISOs (like 100-400) typically produce cleaner images with better detail. Modern cameras minimize noise at higher ISOs, but it’s still a consideration. Using the ISO, aperture, and shutter speed chart helps balance these settings for optimal quality without compromising the desired aesthetic or technical outcome in various lighting conditions.
Mastering ISO, aperture, and shutter speed is key to capturing stunning photos. Use the Exposure Triangle and a PDF chart to balance settings effectively and enhance your photography skills.
Mastering the Exposure Triangle for Better Photos
Mastering the Exposure Triangle—ISO, aperture, and shutter speed—elevates your photography. Each element interplays uniquely: ISO for light sensitivity, aperture for depth, and shutter speed for motion. A PDF chart aids in visualizing these relationships, helping you balance settings for optimal exposure. Experiment with different combinations to understand their effects and refine your skills. Practice consistently to achieve professional-quality results and enhance your creative vision.
Encouragement to Practice and Experiment
Consistently practicing with ISO, aperture, and shutter speed is key to mastering photography. Use a PDF chart as a guide to experiment with different combinations, observing how they affect your images. Regular practice helps you understand the Exposure Triangle intuitively, allowing you to capture the desired mood and effect in your photos. Embrace creativity and don’t be afraid to try new settings—every shot is a learning opportunity to refine your skills and build confidence.